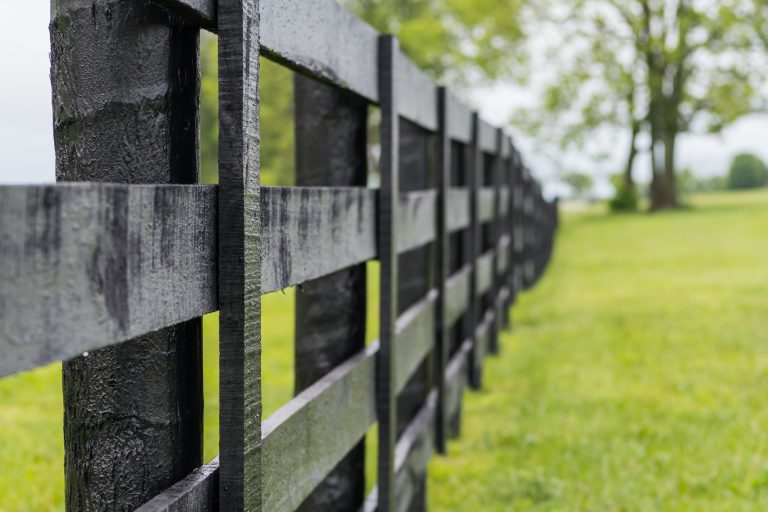
How to Build a Board Fence for Horses or Livestock
A well-built board fence not only keeps your animals safe but also adds a clean, professional look to your property. Whether you’re fencing in horses, cattle, or other livestock, this guide will walk you through each step—from planning to installation.
Step 1: Plan Before You Build
Before you pick up a single board, map out your fence on paper. A scaled drawing helps you:
- Visualize the layout
- Adjust placement for terrain and gates
- Accurately calculate materials and costs
Proper planning now saves you time, money, and frustration later.
Step 2: Make Key Design Decisions
Here are a few important choices to make before buying materials:
How Many Boards?
- 3-board fence – Ideal for horses. Provides safe containment with fewer materials.
- 4-board fence – Recommended for cattle, or if you want a taller, more enclosed look.
Tip: Walton Lumber’s pre-painted black treated pine boards are a great option for horse fencing. They’re coated with an anti-cribbing agent to discourage chewing and save you the time and effort of painting.
Board Specs
- Size: 1” x 6” x 16’
- Wood Types:
- Oak
- Treated poplar
- Treated pine (also available pre-painted)
Post Options
- Spaced every 8 feet
- Two common sizes:
- 6” round x 8’ long (stronger and more durable)
- 5” round x 8’ long
Electric Wire (Optional)
- Recommended: 12-gauge high-tensile smooth wire
- Optional: Barbed wire (less common and generally not used for horse fencing)
Taking time to visualize your finished fence will help you make confident design choices and keep the look clean and consistent.
Step 3: Gather Materials and Tools
Materials Checklist
- Fence boards
- Fence posts
- 2.5” or 3” deck screws
- Optional: 12-gauge smooth wire
- Fence staples
- Wrap-around and slip-on insulators
- Wire strainers (tighteners)
- Construction string
Tools You’ll Need
- Skid steer or tractor (for moving materials)
- Level
- Hammer
- Cordless saw
- Cordless screw gun
- Spinning jenny (for wire)
- Wire strainer tool
- Optional: Post driver (rent one from Walton Lumber)
Step 4: Installation Guide
Install Corner Posts
Start with your corner posts—they serve as your fence’s anchor points. Set them deep and make sure they’re level.
Run a Guideline
Use construction string to create a straight line between corner posts. This will keep your fence line straight and tidy.
Mark and Install Line Posts
- Measure every 8 feet along the string line
- Mark each spot and install your line posts
- Use a post driver or auger and ensure each post is plumb (vertically straight)
Attach Fence Boards
- Begin securing boards to posts, staggering joints for strength and appearance
- Boards should be close enough to prevent animals from pushing their heads through
- For extra durability and a polished look, screw a vertical board over each joint using 3.5” screws
Install Electric Wire (Optional)
- Run 12-gauge smooth wire along the inside of the fence
- Use wrap-around insulators on corners and slip-on insulators for line posts
- Install and tighten the wire with a strainer midway down the fence line
Step 5: Finishing Touches
- Trim the tops of your posts level with the top board for a neat finish
- Check for any sharp edges, loose boards, or protruding screws
- If you used untreated or unpainted lumber, consider painting to protect and preserve your fence
Bonus Tip: Using Walton Lumber’s pre-painted boards and posts can save you hours of labor and give your fence a clean, uniform look from day one.